Is your dryer tumbling but leaving clothes damp and cold? Before you panic and call a costly repair technician, there’s a good chance you can diagnose and fix the problem yourself. A non-heating dryer is one of the most common appliance issues, and often, the culprits are simple, inexpensive parts.
This guide will walk you through the most frequent reasons your electric dryer isn’t producing heat and show you how to test and replace the faulty components.
Safety First! Always Unplug Your Dryer!
Before touching any internal components, unplug your dryer from the wall outlet. Even low-voltage components can give a shock, and working with live electricity is extremely dangerous. For gas dryers, also turn off the gas supply.
Common Culprit #1: The Thermal Fuse
The thermal fuse is a safety device designed to blow (like an electrical fuse) if your dryer overheats, preventing a fire. It’s a non-resettable fuse, meaning once it blows, it needs to be replaced. If it blows, there’s often an underlying issue like a clogged vent, so check that too!

Tools Needed:
- Screwdriver (Phillips or flathead, depending on your dryer)
- Multimeter (set to continuity mode)
- New thermal fuse (specific to your dryer model)
Steps to Check and Replace:
- Locate the Thermal Fuse: The thermal fuse is usually a small, white plastic cylinder with two wires connected to it. It’s typically found on the exhaust duct or blower housing. You might need to remove the back panel of your dryer to access it.
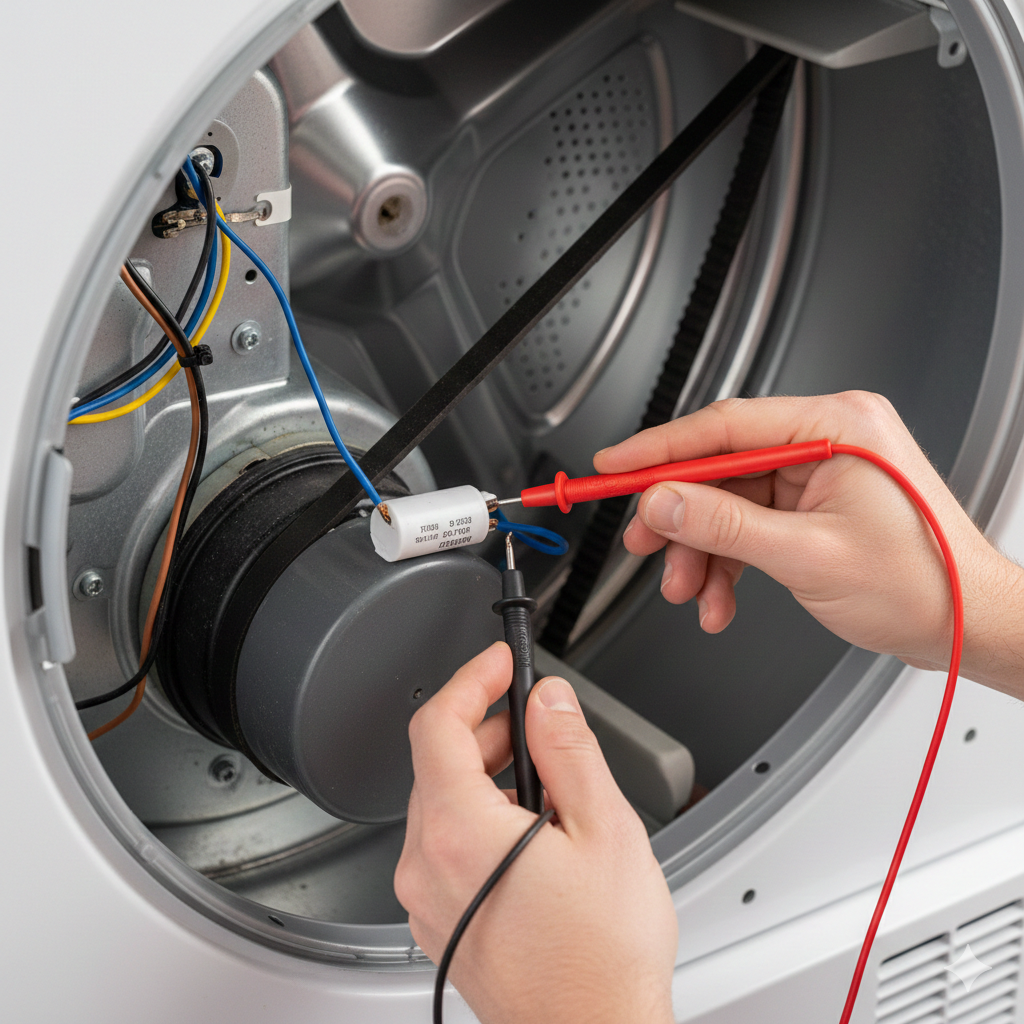
- Test for Continuity: Disconnect one wire from the thermal fuse. Set your multimeter to the continuity setting (it usually beeps or shows ‘0’ ohms). Touch the probes to each terminal of the fuse.
- If your multimeter beeps (or shows 0-1 ohms): The fuse is good.
- If it shows “OL” or doesn’t beep: The fuse is blown and needs replacement.
- Replace the Fuse: if the fuse is bad, disconnect both wires and remove the old fuse. Attach the new thermal fuse, ensuring the wires are securely connected
Common Culprit #2: The Heating Element
The heating element is responsible for generating the heat inside your dryer. Over time, the coiled wire can break, preventing your dryer from getting hot.
Tools Needed:
- Screwdriver
- Multimeter (set to continuity mode)
- New heating element (specific to your dryer model)
Steps to Check and Replace:
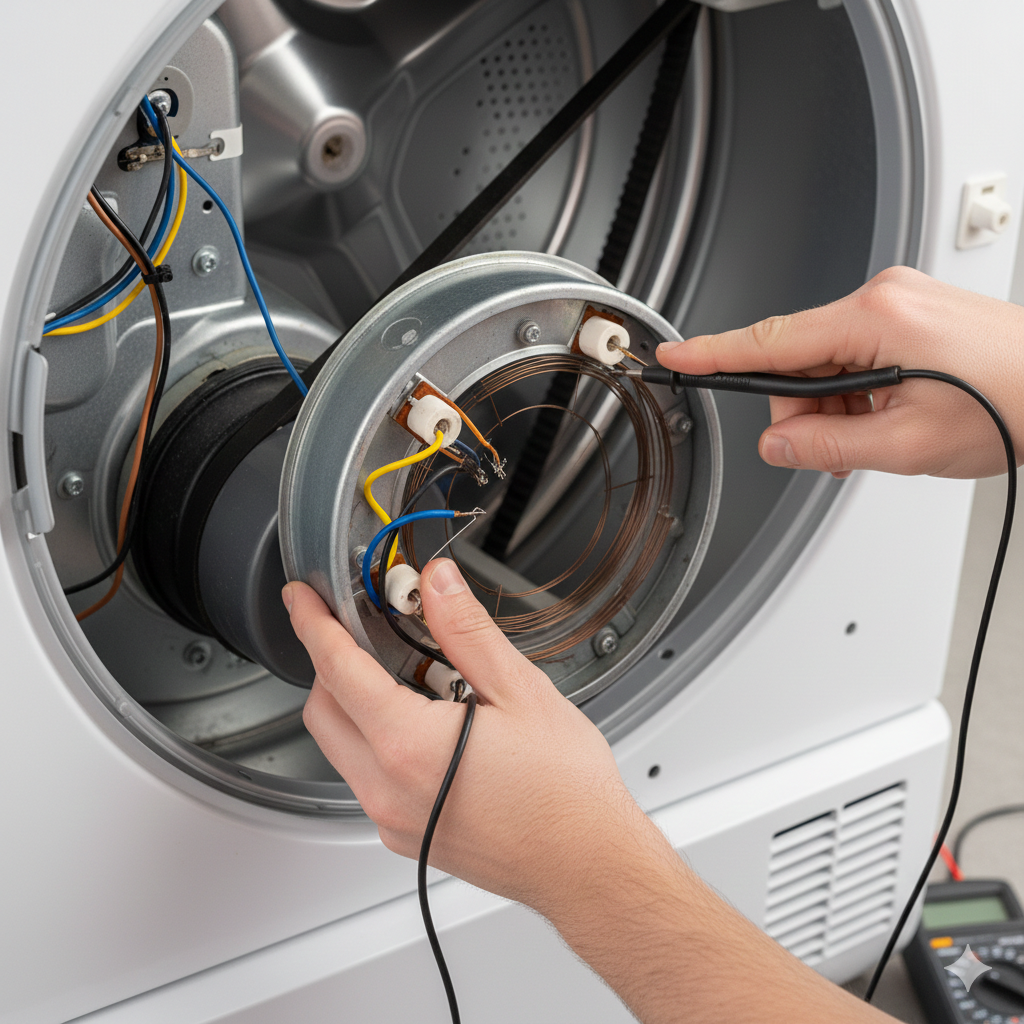
- Access the Heating Element: This usually requires removing the back panel of your dryer. The heating element assembly is often a metal housing with wires connected to it.

- Test for Continuity: Disconnect the wires from the heating element. Place your multimeter probes on the two terminals of the heating element.
- If your multimeter beeps (or shows a resistance reading, typically 10-20 ohms): The heating element is likely good.
- If it shows “OL” or doesn’t beep: The element is broken and needs replacement.
- Replace the Element: If bad, remove the old heating element (it may be held by a few screws) and install the new one. Reconnect the wires securely.
Common Culprit #3: The Thermostat(s)
Dryers typically have one or more thermostats that regulate the temperature. If a thermostat fails, it might prevent the heating element from turning on. They look similar to thermal fuses but can sometimes be reset.
Tools Needed:
- Screwdriver
- Multimeter (set to continuity mode)
- New thermostat (specific to your dryer model)
Steps to Check and Replace:
- Locate the Thermostats: These are often found near the heating element housing or on the blower wheel housing. There might be an operating thermostat and a high-limit thermostat.
- Test for Continuity: Disconnect one wire from each thermostat. Test each one individually for continuity with your multimeter.
- If your multimeter beeps (or shows 0-1 ohms): The thermostat is good.
- If it shows “OL” or doesn’t beep: The thermostat is faulty and needs replacement.
- Replace the Thermostat: Remove the old thermostat and install the new one, ensuring all wires are reconnected.
Other Potential Issues (Less Common for “No Heat”)
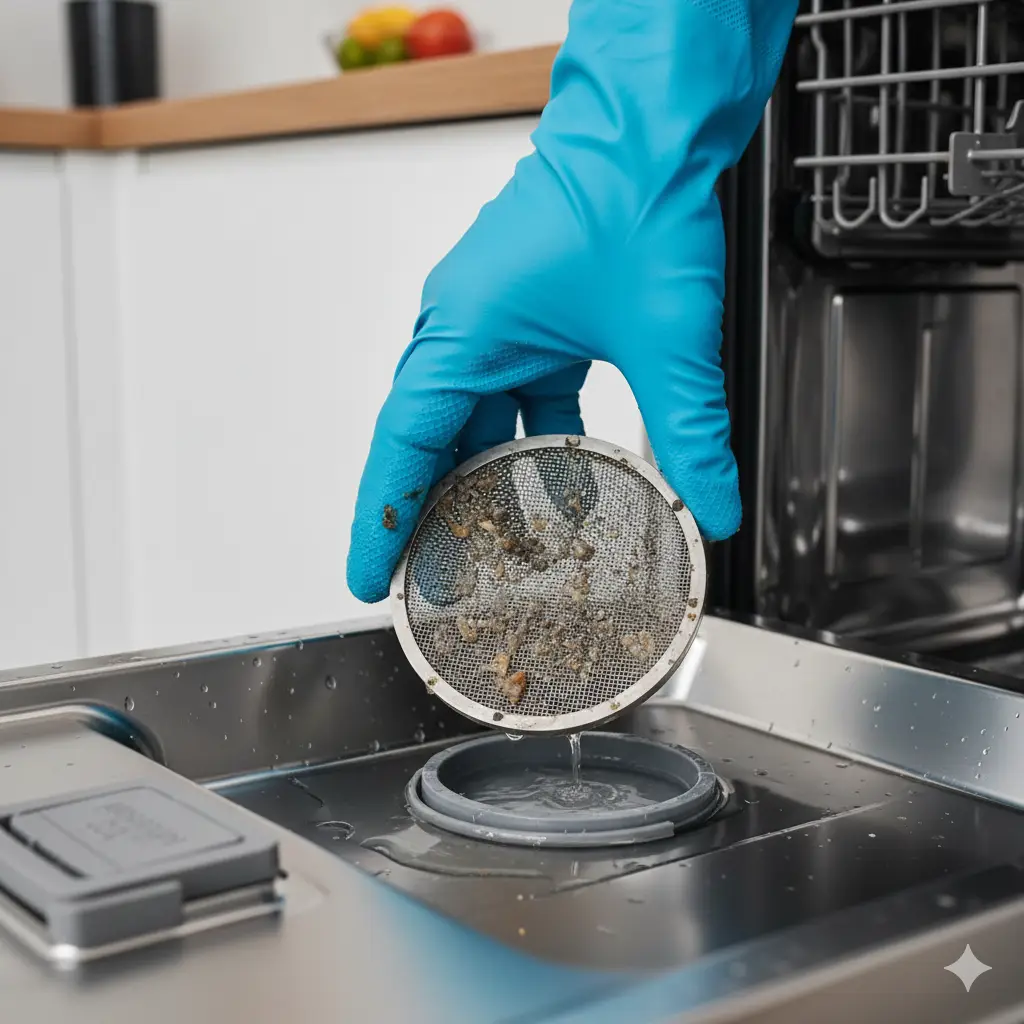
- Clogged Vent: A severely clogged dryer vent restricts airflow, causing the dryer to overheat and trip the thermal fuse or high-limit thermostat. Clean your vent annually!
- Broken Belt: If the drum isn’t spinning, the dryer won’t heat efficiently (and might not heat at all).
- Faulty Timer or Control Board: These are more complex and expensive fixes, typically only considered after checking the above components.
Reassemble and Test!
Once you’ve replaced any faulty parts, carefully reassemble your dryer. Make sure all panels are secure and screws are tightened. Plug the dryer back in and run a test cycle. If you’ve successfully identified and replaced the problematic part, your dryer should now be blowing warm, toasty air!
Remember: Always refer to your dryer’s specific service manual for detailed diagrams and instructions, as models can vary. If you’re unsure at any point, it’s always best to consult a professional.
Leave a Reply